WP-Members is changing the defaults for where and how it stores files uploaded through the registration form. If you do not have an image or file field in your registration form, then there is no need to worry about this. However, if you have an existing installation prior to 3.5.5, and you have an image or file upload field in your form, you may want to consider this upgrade process which will move existing files to the new structure.
Previously, custom obfuscation was the way to handle this. And that process is still possible. However, now the plugin implements its own obfuscation automatically.
Note: this is not a requirement. However, upgrading is recommended. Any new files uploaded will use the new file structure. Existing files would still be accessible without moving. The necessity of moving will depend on what type of files you have uploaded. Anything of a personal and restricted nature should be moved.
While there is an admin panel for running this process, for installs that may have many users and files to move may find that WP CLI is more stable and effective. Using WP CLI is the recommended method.
It is important to create a backup of your database and filesystem before running these commands. The process is two steps – first moving the files, and second, deleting the old ones. The first step will make changes in the database relative to the file paths so that WP can find them. The second step deletes the old locations. Thus, it is important to create a backup before doing either step in the event that something goes wrong and you need to roll back. While I have taken careful steps to handle the processing, WP is highly customizable as are the possible webservers it runs on. It is impossible to test for every contingency, so doing this without a backup (and knowing how to restore) is at your own risk.
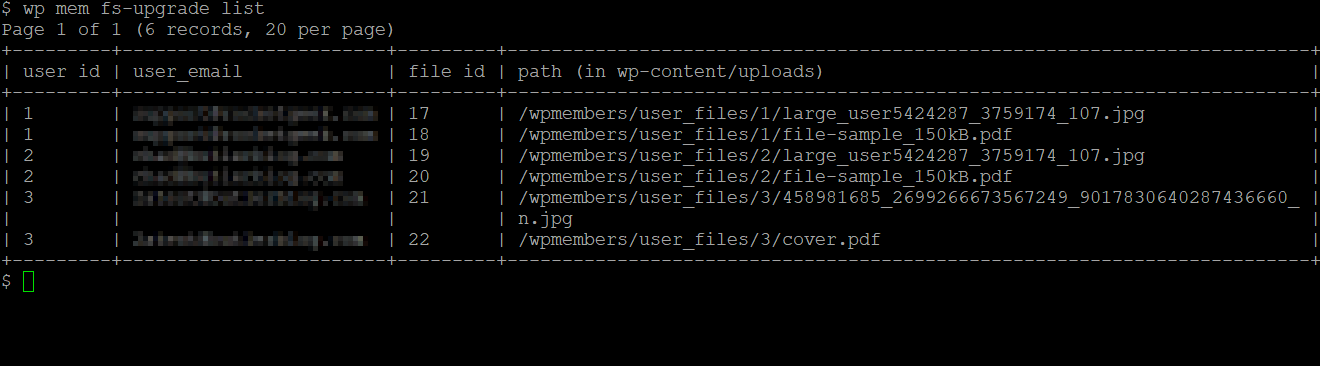
Before running the move, you can query a list of files using the command wp mem fs-upgrade list. It will paginate the results, 20 per page. To display additional pages, use --page=. To display more (or less) per page, use --per_page=.
The first step in moving files is to run wp mem fs-upgrade move. This will create a new path for each file based on the plugin’s new configuration. It will update each file’s information in the database. It will not delete the old files. If there were errors during the move, it will display them at the end. It will give a prompt for the second step.

Once you have run the move command, you can re-run wp mem fs-upgrade list to confirm there are no files remaining to move. If there are no files to move, it will give a success message.

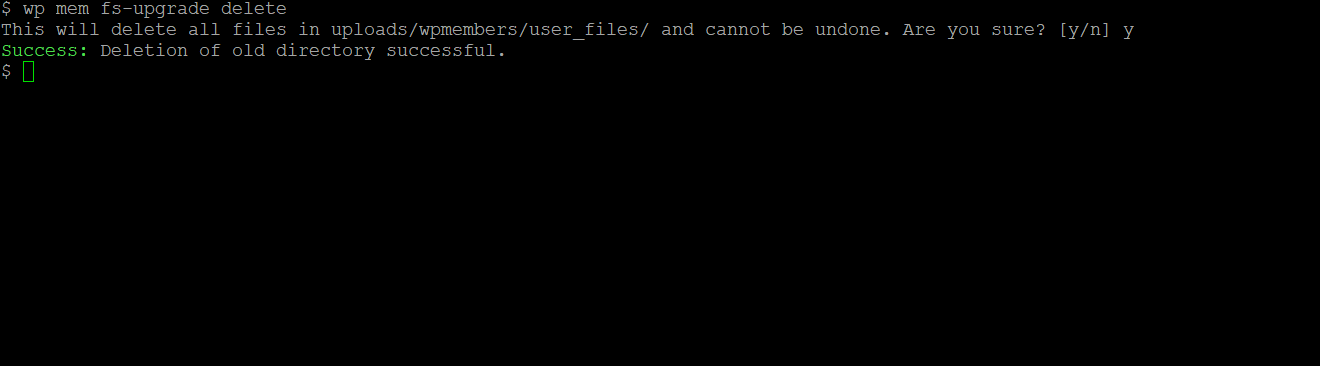
The final step is to delete the old directories and files. You can do this with the wp mem fs-upgrade delete command. If full deletion was successful, it will return a success message. If there were any errors, it will indicate there were errors. Errors may be related to directory permissions. If you are unable to delete using the WP CLI command, you can also do it using your shell account and the rm -rf command.