Mailchimp API Key (required)
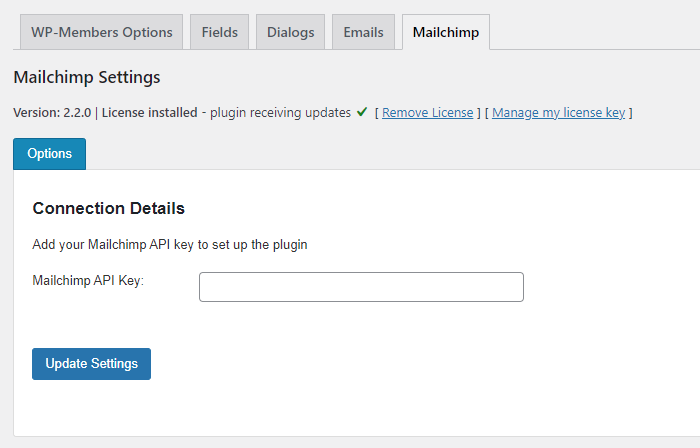
The first thing you will need to install is your Mailchimp API key.
Until you install a valid API key, no other settings will be displayed.
You can establish different API keys in your account and utilize them for different purposes. For more information on setting up a Mailchimp API key, see this topic in the Mailchimp knowledgebase.
Audience ID (required)
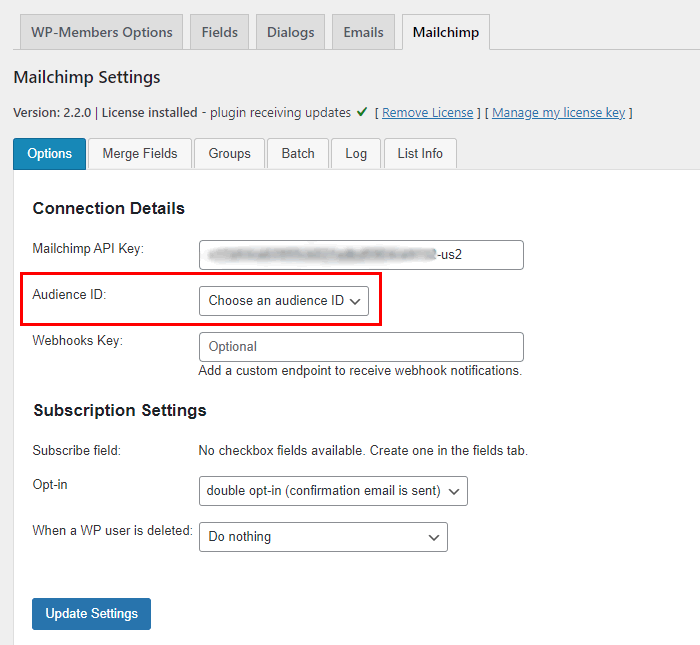
Each Mailchimp Audience has a unique ID. This is the number that you need to tell Mailchimp which list is being managed through the API. If a valid API key is installed, you will see a dropdown selection of available Audience IDs in your Mailchimp account.
Select the Audience ID you wish to use.
The WP-Members Mailchimp Extension currently only allows you to manage one list.
For more information on retrieving your Audience ID from Mailchimp, see this topic in the Mailchimp knowledgebase.
Webhooks (optional)

Webhooks are an optional setting, but it is recommended that you create a webhook URL. The purpose of webhooks are so that API communication between your site and Mailchimp goes in both directions. Using the API alone, your site will send messages to Mailchimp to subscribe or unsubscribe a user, and also update their information. Using a webhook, if a user makes a change to their information on the Mailchimp side (such as clicking the unsubscribe link in an email), Mailchimp will send that information to your site to update the local user information.
Once you have added a unique endpoint value and saved your settings, the plugin will display your webhook URL that you can add to Mailchimp.
Your endpoint can be human readable (such as “my-mailchimp-webhook”) or random (such as “34ab55zz”); but it MUST contain only letters and numbers in order to result in a valid URL value.
How to add a webhook URL to Mailchimp.
Subscribe Field (required)
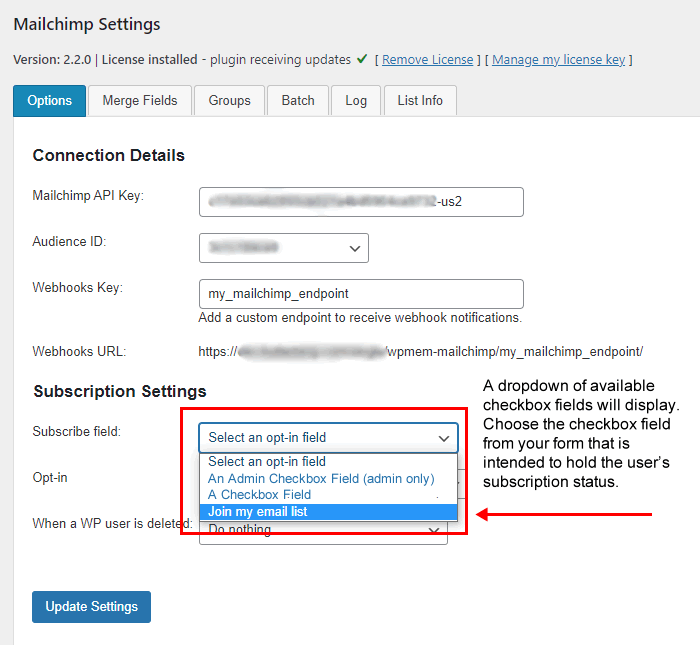
You must link a checkbox field from your registration form as the subscribe field. This is used to locally determine if the user is subscribed or not.
You do have the option of using an “admin only” field to identify the user’s subscription status. This setup is often used in situations where all users are maintained as subscribed to the list and do not opt-in or out via the site. Note that the recommended setup is for this field to be displayed in both the registration form and the user profile update so that the user can subscribe or unsubscribe based on their preference, but the plugin does not force you to set it up this way.
If you have set up a webhooks URL (see above), if a user subscribes/unsubscribes via Mailchimp, their local subscription setting will be updated via the webhook.
If you do not have any checkbox fields set up in your registration form, this selector will indicate that you need to create one.
How to create a checkbox field to use as a subscribe field.
Opt-in
Double opt-in
Mailchimp recommends that you use double opt-in for subscribing new users. This option will send your user an email confirming their subscription and they will not be added to the audience until they have clicked the link that Mailchimp sends to the user. Until the user has confirmed their subscription, they will be in Mailchimp as “pending”.
If you do not want Mailchimp to send this confirmation message, and instead add the user immediately to the audience, set this to either of the other available options (single opt-in or no opt-in).
Single opt-in
Single opt-in will display the checkbox you selected in the “Subscribe field” setting (see above) and the user must check it in order to be added to the list. They will be added to the audience as “subscribed”.
No opt-in
No opt-in does not display the subscribe checkbox to the user and will automatically add the user to the audience as subscribed. Use this setting when the user registration acts as the opt-in and the user should be subscribed unless unsubscribed by the admin.
How you handle user opt-in to the audience is ultimately up to you. However, if you are flagged for abuse by Mailchimp, one thing they look at will be whether or not you send the double opt-in confirmation to the user. If you don’t and you have a lot of spam complaints, that could lead to them terminating your account.
When a WP user is deleted
This setting allows you to determine what happens to a Mailchimp subscriber when their user account is deleted in WordPress.
Do nothing
The default setting is to do nothing, which leaves them on your list in their current state (pending, subscribed, or unsubscribed).
Unsubscribe
Choosing the unsubscribe option will set the user as unsubscribed, but they will remain in the audience in an unsubscribed state.
Archive
Choosing to archive the user will not only unsubscribe the user, but it will also remove them from the audience, placing them in an “archived” state.
The plugin no longer offers the “delete” option. This setting led to confusion among users (and sometimes frustration) because when a user is “hard” deleted from Mailchimp, they can no longer be re-added via the API. This means that if the user resubscribed at a later date, they could not be added simply through the API. The only way to re-add a deleted user is to use a Mailchimp hosted subscription form.
If you need to hard delete a user, you must do it through Mailchimp.
Registration is moderated
This setting only shows if moderated registration is enabled in the plugin’s main options tab. This checkbox allows you to hold new Mailchimp subscriptions until the user is approved in WordPress.
When a user is deactivated
Like the above setting, this only shows if moderated registration is enabled. This setting operates the same as “When a WP user is deleted” above, but on deactivation of a user.