To get started:
- Open the plugin’s Fields tab.
- Add a new text field for your invite code (DO NOT set it as required).
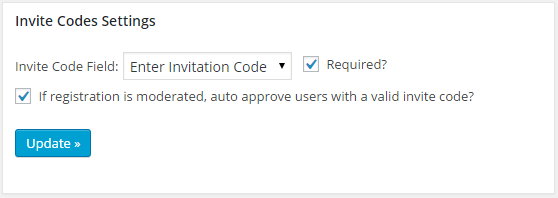
- In the Invite Codes tab, select the invite code field you created from the “Invite Code Field” dropdown selection.
- If an invite code is required for registration, you can set is as required in the Invite Codes Settings.
- If moderated registration is enabled, you may set the Invite Codes extension to auto approve the user. IMPORTANT: This setting, if used, should ONLY be used if users choose their own passwords at registration (password field is enabled in the fields tab).
Manage Invite Codes
Invitation codes are managed under Dashboard > Invite Codes. There is a link to this page in the settings tab (“Manage Invite Codes”).
Add a new invite code
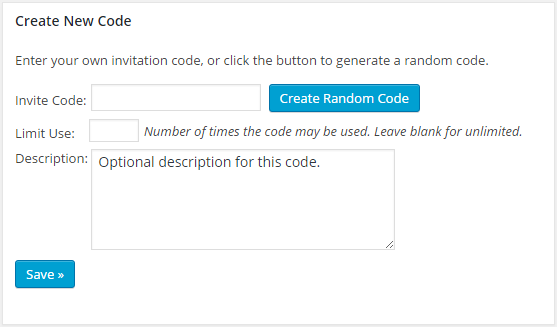
You can add a new invite code in the dashboard by clicking “Add New”. You can enter your own code, or you can use the “Create Random Code” button to generate a random code.
The “Limit Use” field identifies the code as only being allowed to be used a set number of times. Specify the number of times the code may be used. For single use, you can set the number to 1 if you intend to give this code to a single person and want the code to automatically deactivate after it is used once. If the field is to be unlimited use, leave this blank.
You can add a note or description to any of your invite codes in the Description field.
Note: These fields, with the exception of the actual invite code field, can be edited for existing codes by locating the invite code in the list table and clicking the “edit” hover menu item.
Code Table
You’ll find a list of all invite codes under Dashboard > Invite Codes.
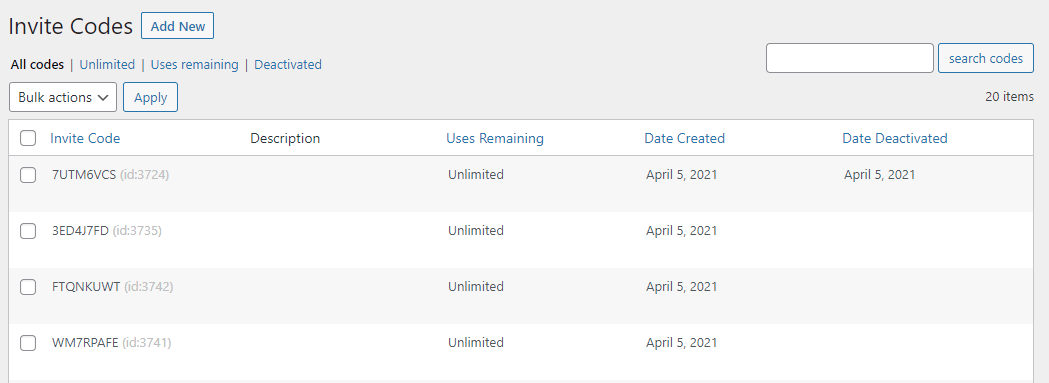
Some of the actions you can employ via this screen are:
- Add a new code
- Edit an existing code
- Search by code name
- Filter by code properties (see “view” links at the top of the dashboard screen)
- Delete/deactivate codes
- Sort the table by code name (alphabetically ascending or descending), by use, or by date created or deactivated (used/manually deactivated)