Manage Plugin Settings
Blocking Posts/Pages by default
WP-Members can block post and/or pages by default.
When initially installed, the plugin will be set to block posts, but not pages, but you can change that setting on the Options screen.
Posts: it is important that you get in the habit of using the ‘read more’ tag in your posts if you are blocking posts by default. This is what creates an excerpt for summary pages, such as monthly archives or search results. If you do not use the ‘read more’ tag, use the auto-excerpt setting.
Pages: pages do not need to use the ‘read more’ tag. However, if you have selected to “Show Excerpts” above the login/registration on restricted content, you MUST use the ‘read more’ tag on a page, otherwise the full content will show above the login/registration.
Regardless of the default setting you have chosen for Posts or Pages, any Post or Page can be set at the article level to override the default setting.
A full discussion of each of these settings is covered in the Documentation.
Fields
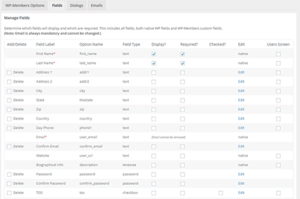
This settings screen allows you to pick which data fields will be included in your registration form and which of the selected fields will be required. Also, the plugin notes which of the fields is native to WordPress. In the Fields tab, you can add custom fields or remove non-native fields. Any field marked “Display” will be part of the registration form, otherwise it is considered “admin use only.” Fields that are not being used or are not needed can be deleted.
Dialogs
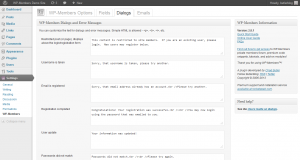
This screen allows you to customize certain dialogs and error messages that the plugin delivers on the front end. This should be self explanatory. Note that if you have selected to moderate registrations (holding them for admin approval), you should definitely change the “registration completed” dialog to something more appropriate.
HTML is allowed in the dialog messages. However, it should be noted that you need to carefully test any HTML that you use to be sure that it is compatible between the plugin and your theme.
At the bottom of this screen, you can enter HTML for the Terms of Service (TOS) pop-up or use the TOS shortcode to link to a TOS page.

